
In my on going efford to produce more precise parts, it was time to build a CNC machine. Yes I know, I could have bought one, would have been a better, (maybe) more precise machine, but where is the fun in that?
But how big should I go? 200×150 like those small ones you always see in facebook ads? No, I thought: “Go big and stay home!” (yes this was a 2020/1 COVID project)
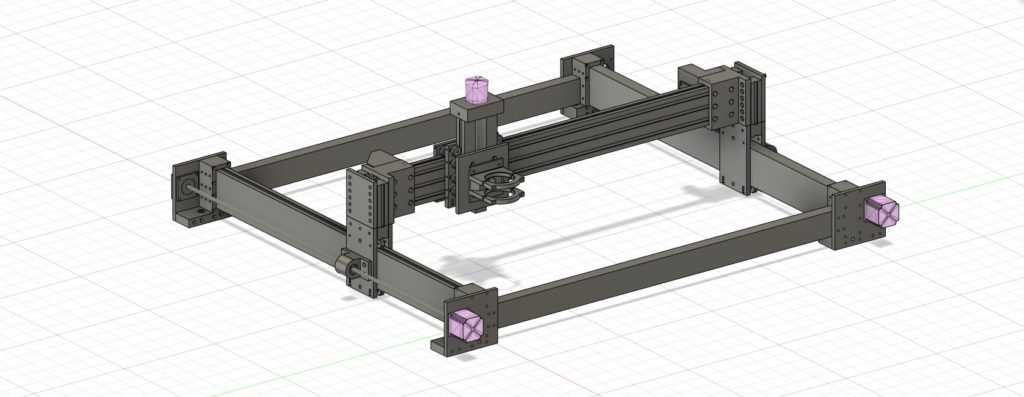
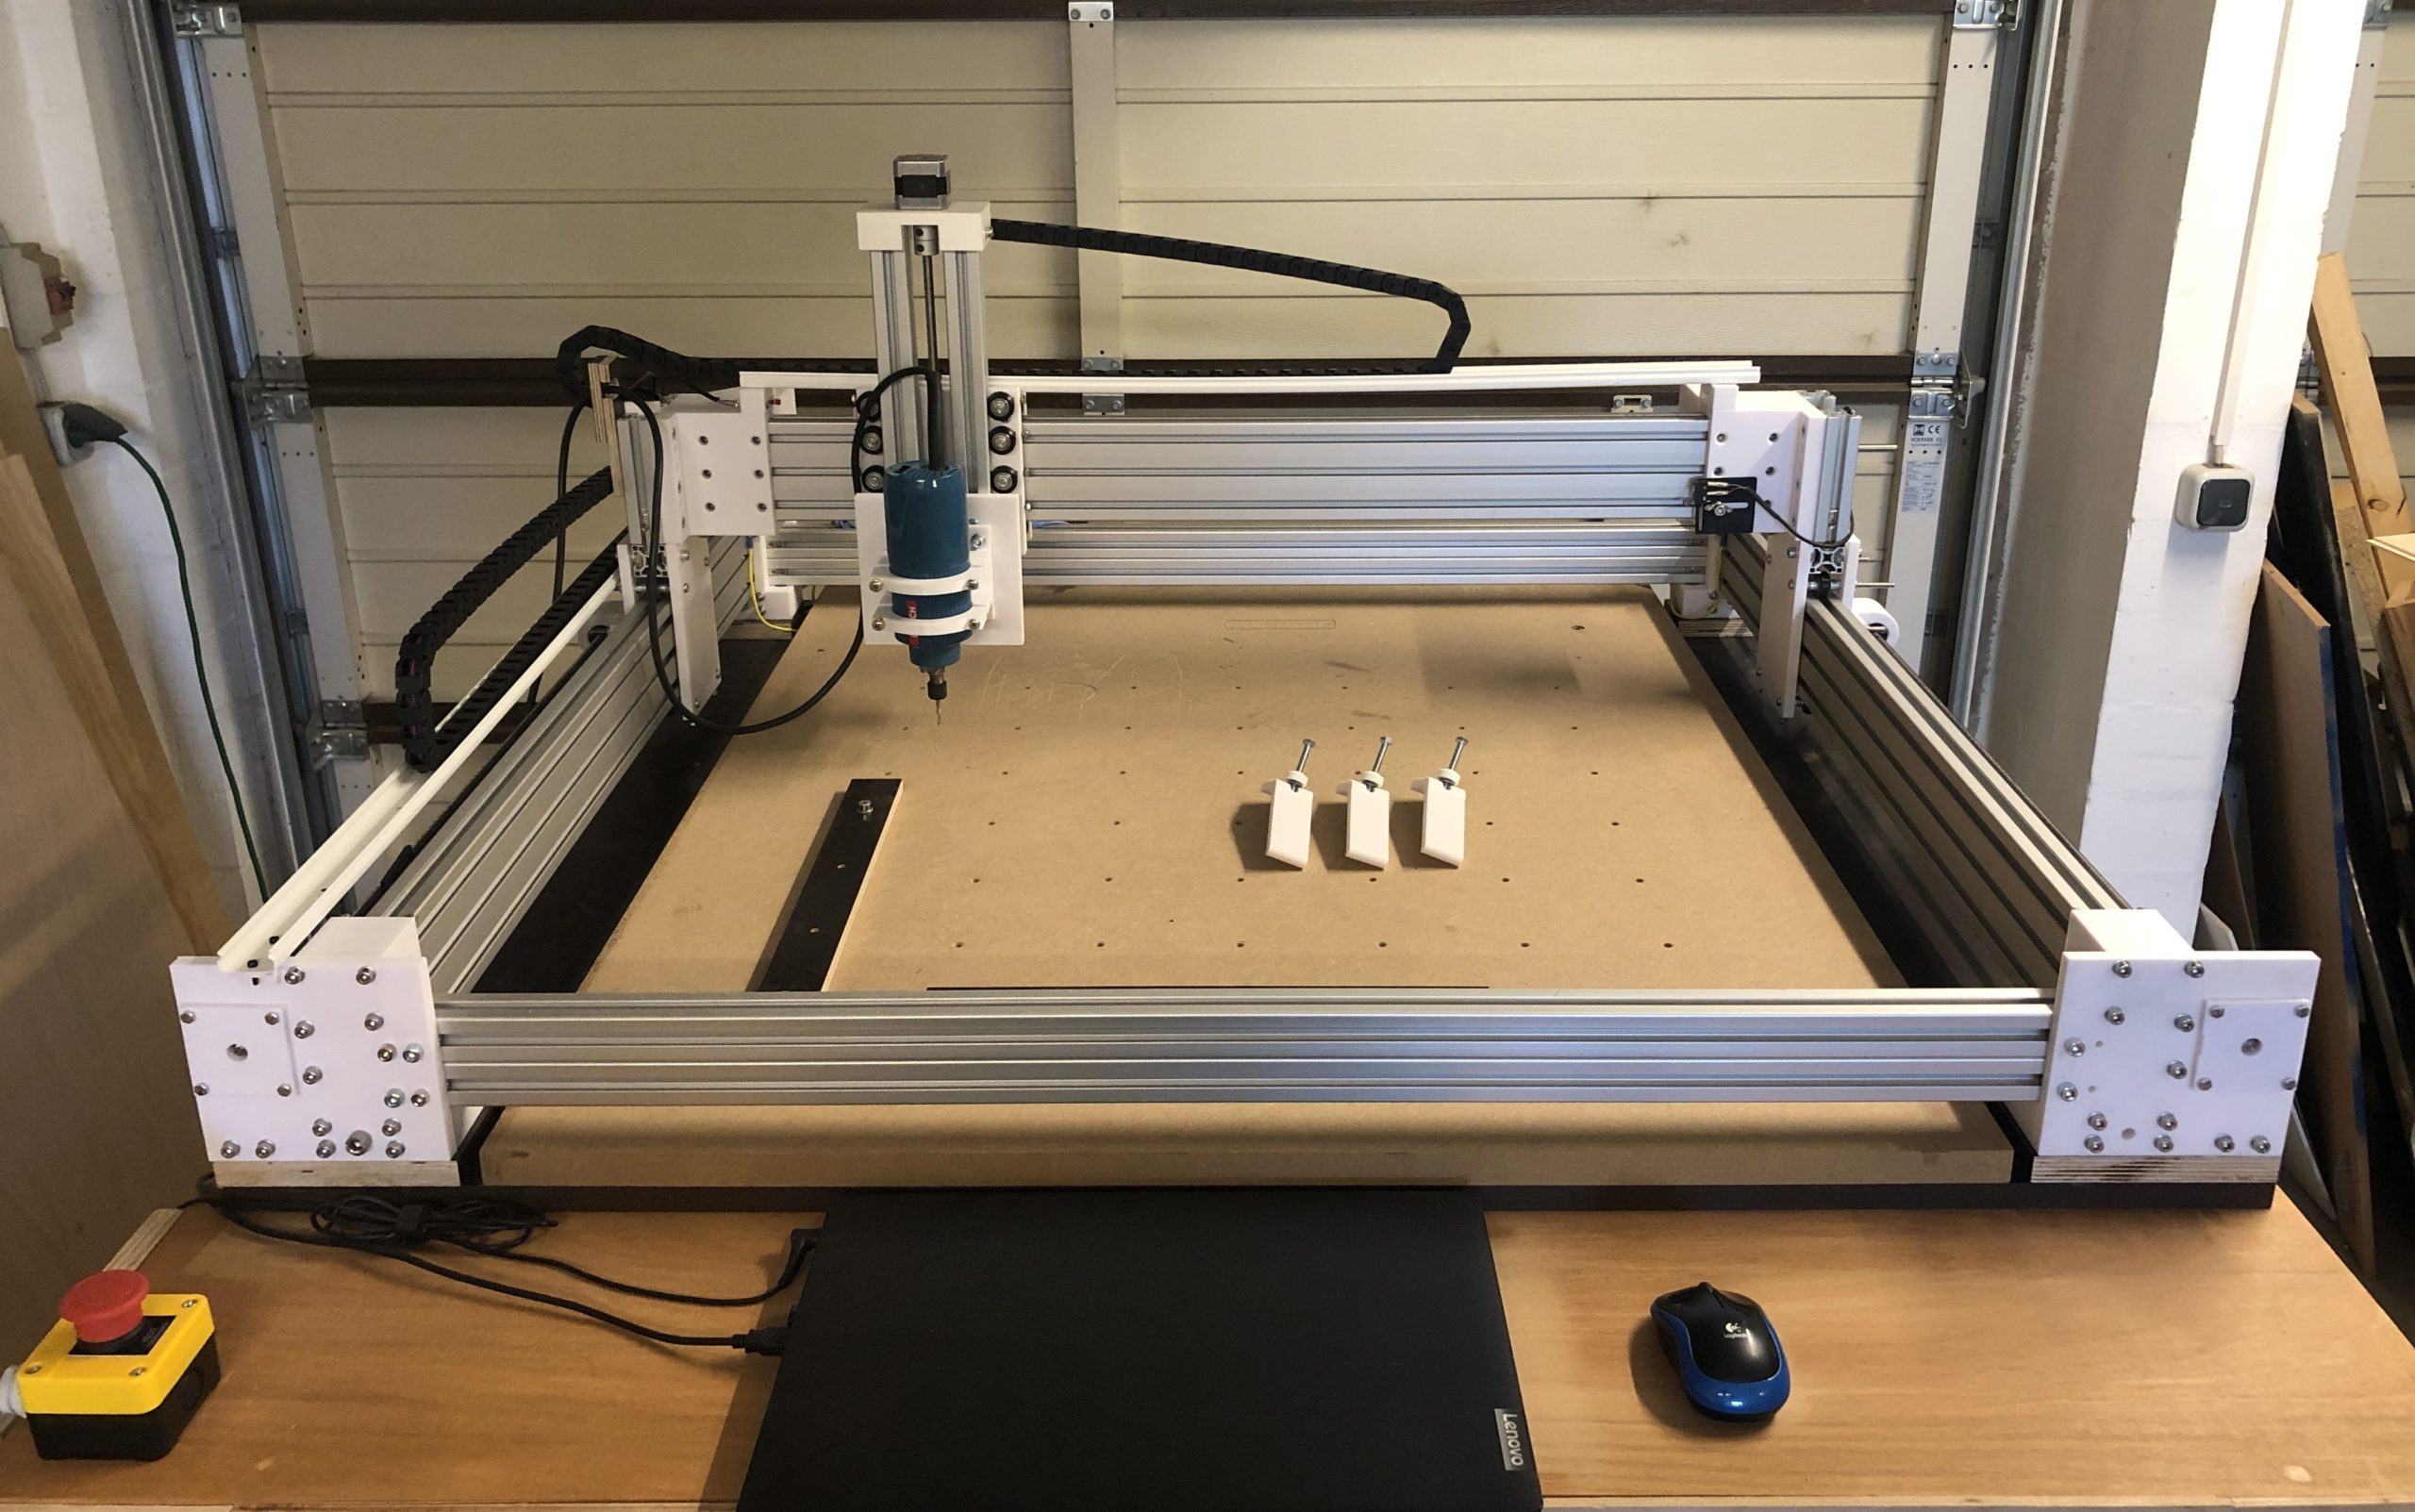
The final dimensions of this machine are 1020x1020mm with a work area of 640x640x150mm. It is moved by two 1.9 Nm Nema 23 stepper motors for Y, one 1.26 Nm Nema 23 for X and one 59 Ncm Nema 17 for the Z axis connected to T8 lead screws with 2mm pitch.
All 3D printed parts took about 100 hours to print. I used 2 Ender 3. All parts are printed in PLA from Geetech. Maybe not the best, most durable material but for now it’s good enough.
Z axis without router mount 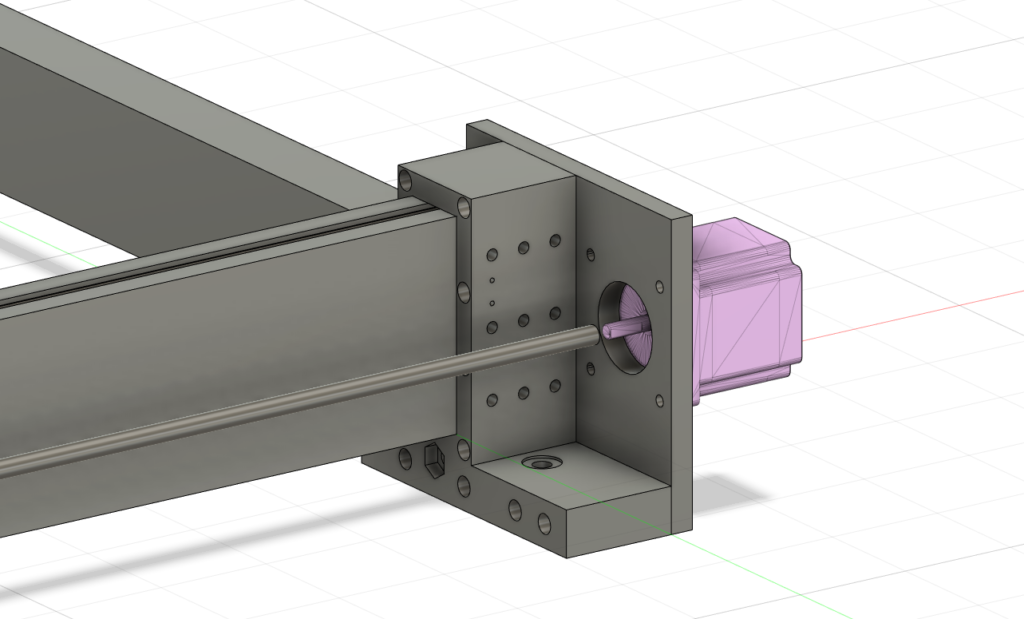
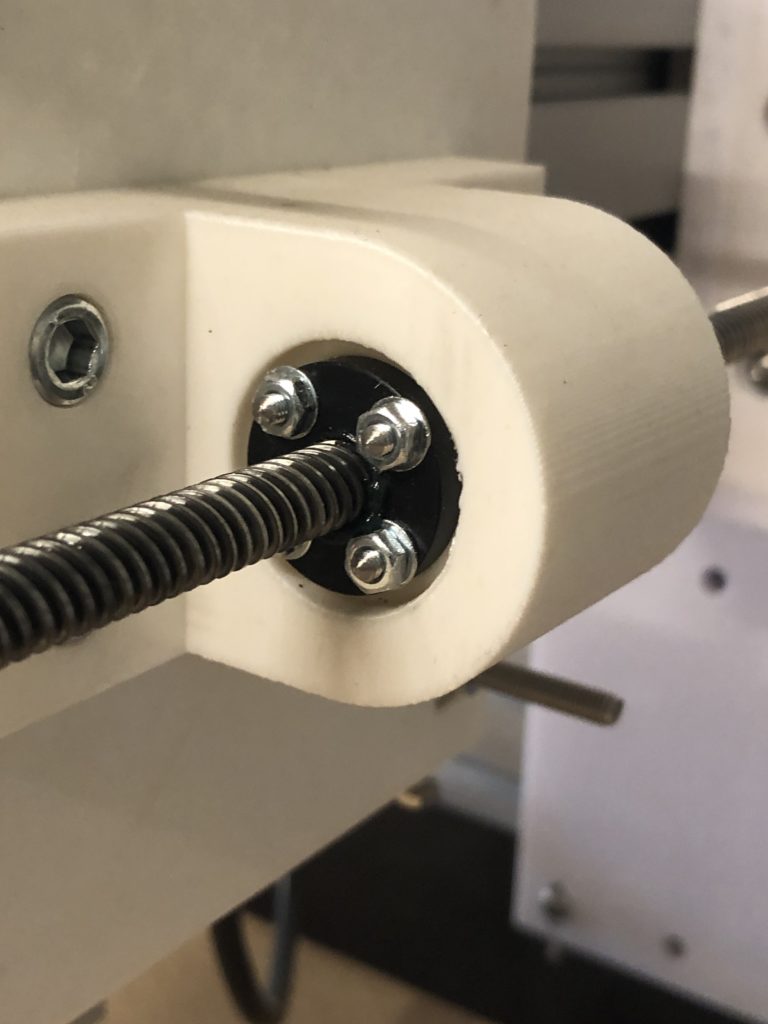
Y axis motor 
Y axis motor mount 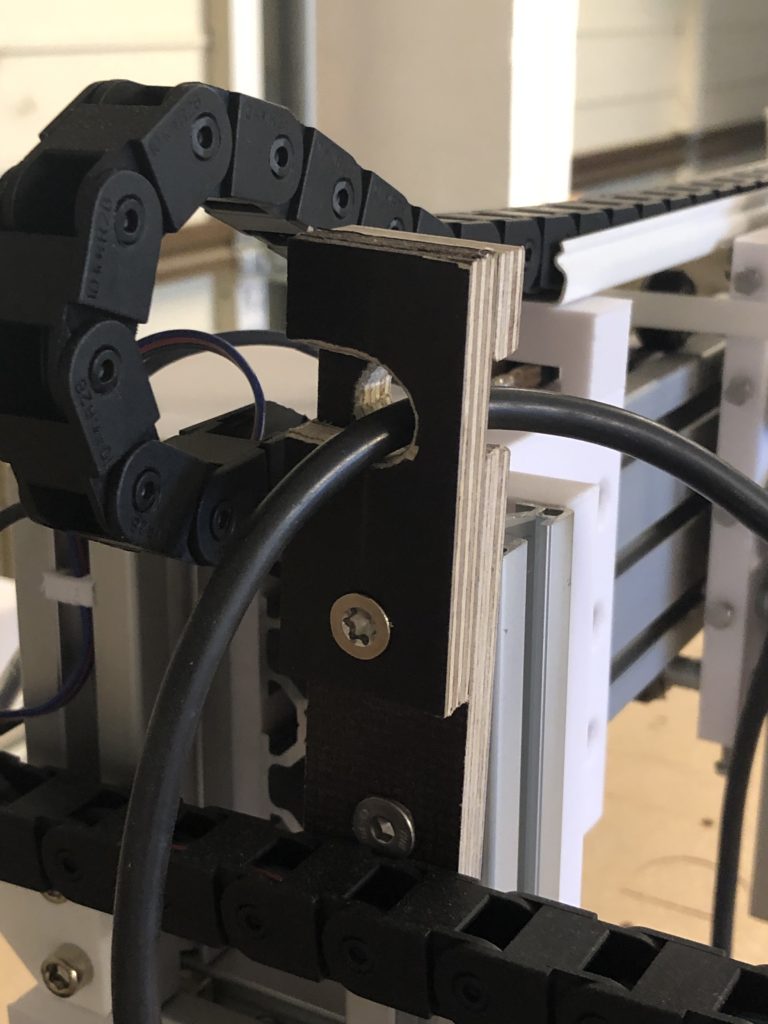
Router cable holder 
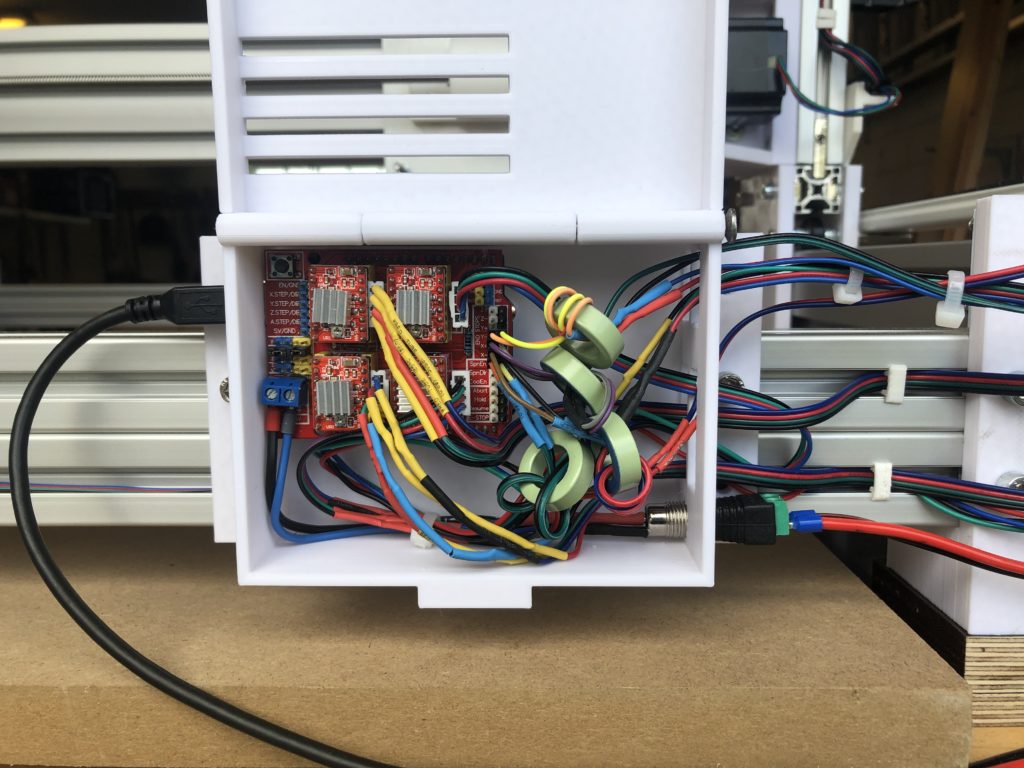
Power supply in enclosure 
Drag chain (unshielded wires) 
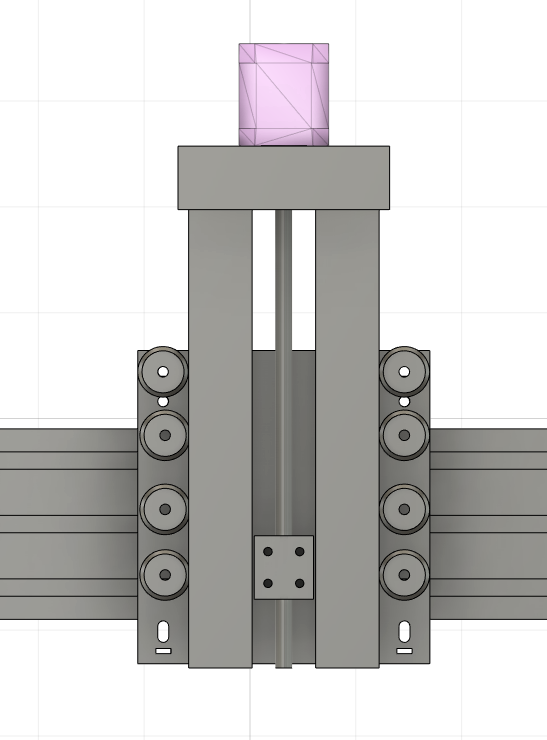
Z axis rollers 
Top of X axis
Parts list
Base frame | |
2X 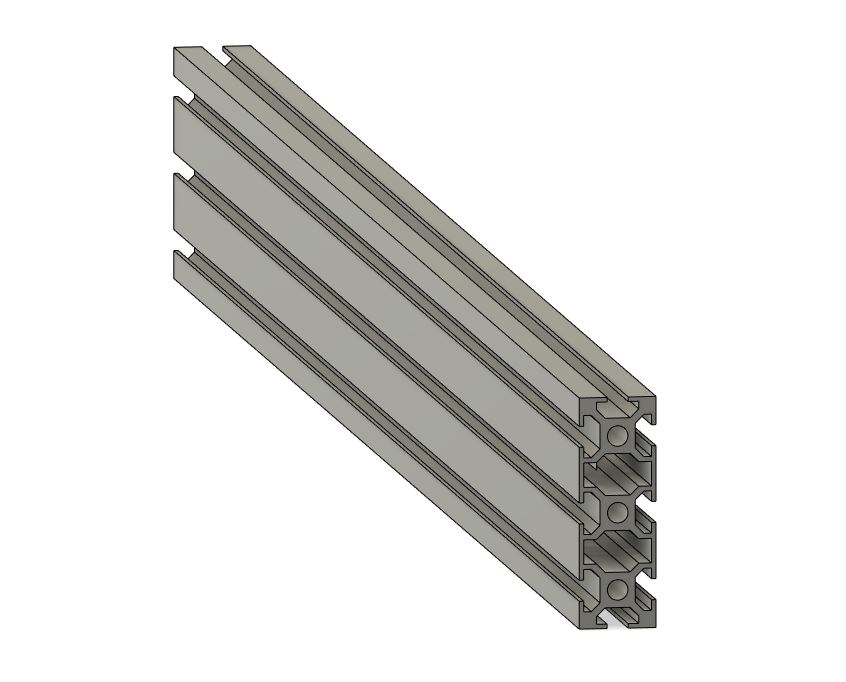 | 3090 extrusion 1000mm long |
2X  | 3060 extrusion 1000mm long |
4X 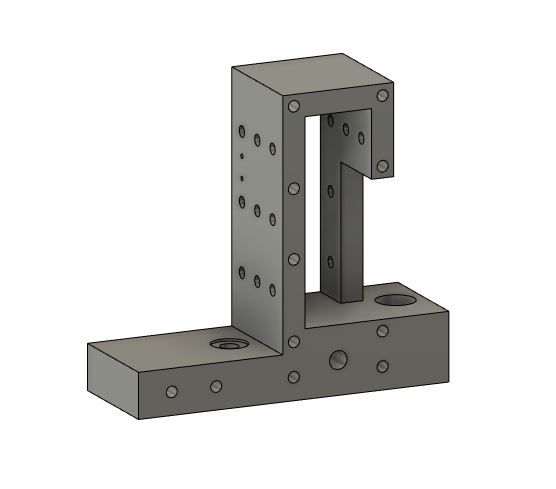 | Corner piece |
4X 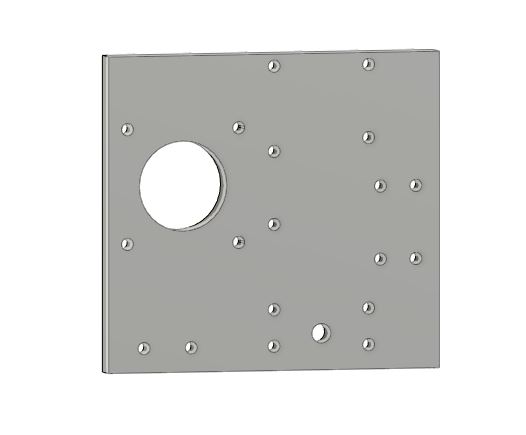 | Corner plate to mount the stepper to |
2X 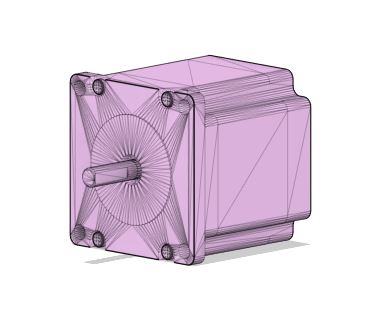 | Nema 30 |
2X 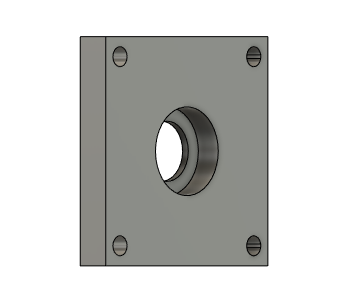 | Bearing holder plate |
2X 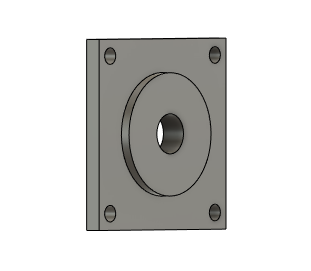 | Bearing centering plate |
2X  | 22mm bearing |
Gantry | |
1X | 3090 extrusion 1000mm long |
2X  | X axis holder connects the roller plate to the X axis |
2X  | Y roller outer plate |
2X  | Y roller inner plate |
6X 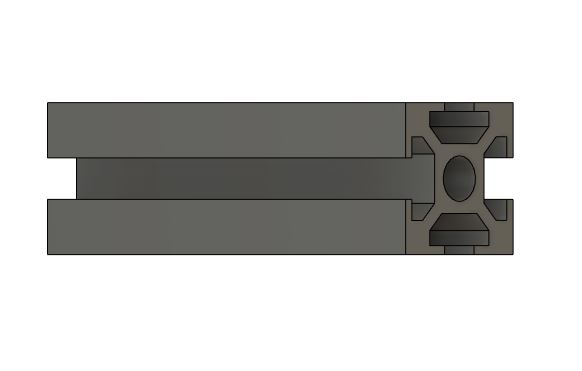 | 3030 200mm |
8X  | Platic wheel with insert bearing |
2X  | Connects the spindel to the gantry |
1X 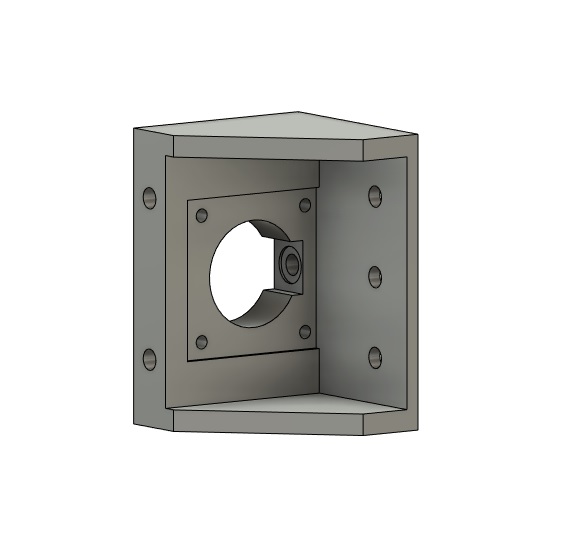 | The X axis motor mount |
1X  | The X axis spindel guide |
2X 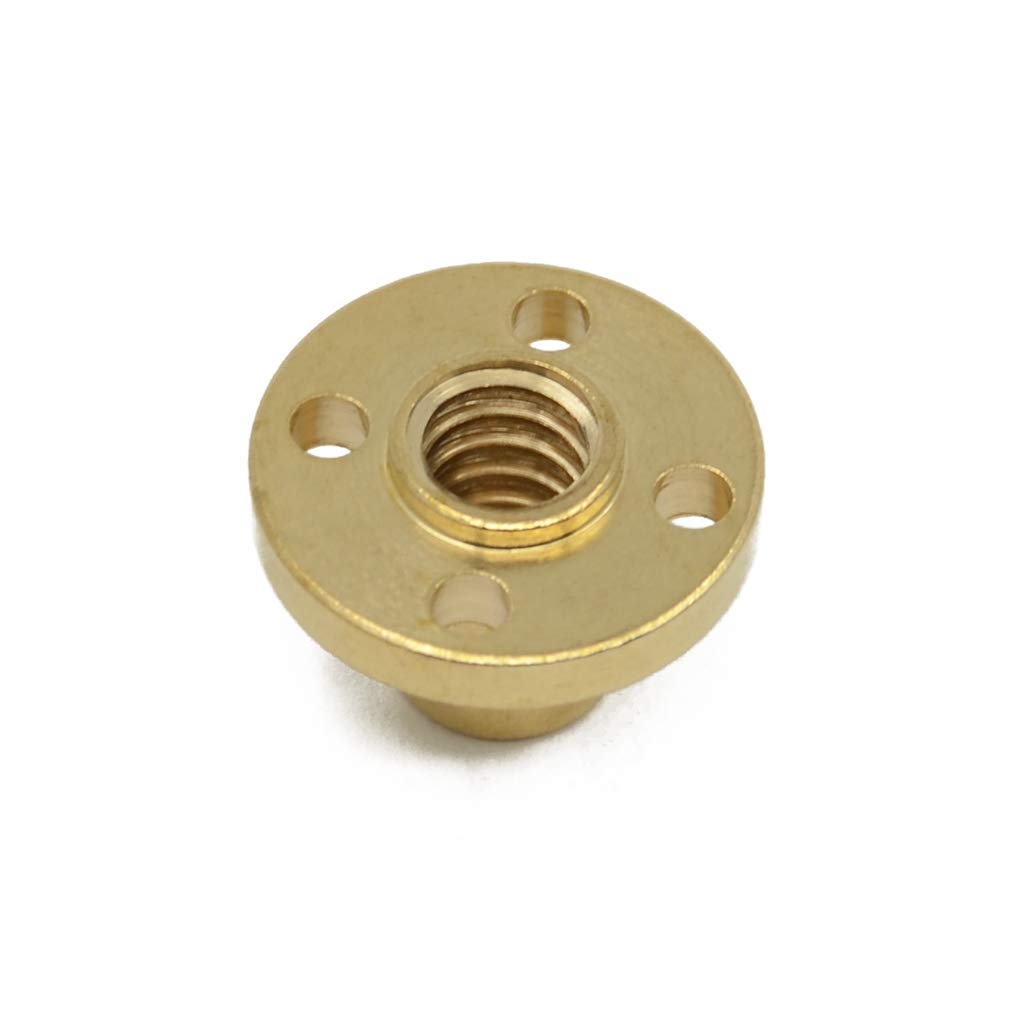 | T8 insert |
2X | Nema 23 |
1X | 22mm bearing |
Z axis assembly | |
1X  | Outer assembly plate. |
1X  | Grinder mount plate |
1X  | Assembly wheel guide |
8X | Wheel |
1X  | Nema 17 |
2X | 3030 500mm |
1X 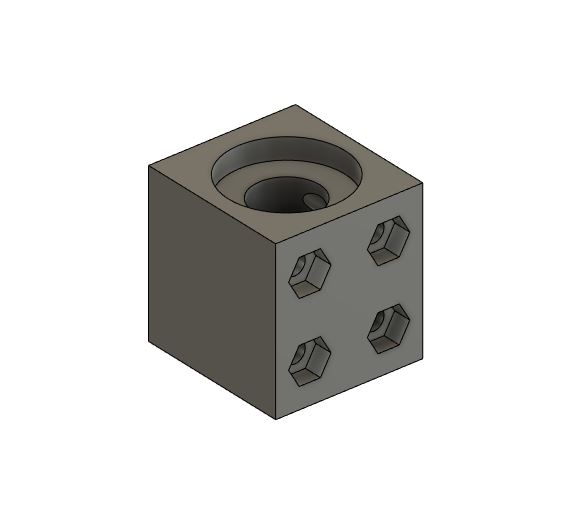 | Z axis spindel block |
1X | T8 insert |
1X  | The router mount |
Miscellaneous parts | |
1X 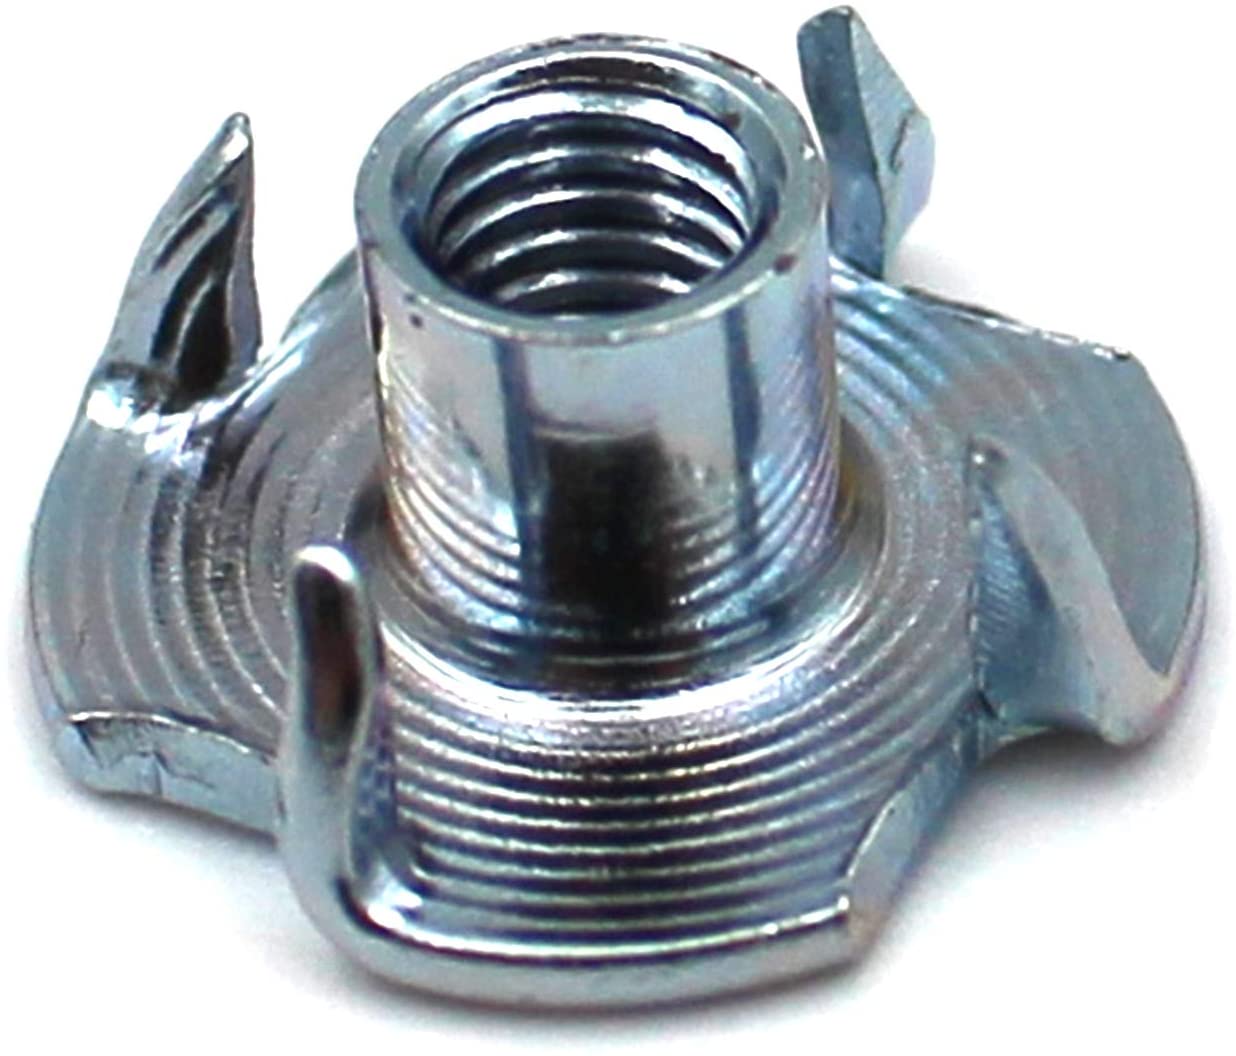 | M6 impact sleeve |
The EMI problem
After a little bit of testing I noticed the machine sometimes went into a fail state randomly without running into any end stops. When I turned on the router or switched a light an alarm would pop up. I did some research and found that some other people have had the same problems before. The problem seemed to be that by turning on the router and the steppers turning, the end stop pins would be getting a false input induced by electromagnetic effects. I tried to filter them with ferrite cores, that helped a little but was still too unreliable. The solution was to change all end stop cables for shielded microphone wires. I also swapped the china counterfeit Arduino CNC board for the real one by Protoneer.
End stops with ferrite cores 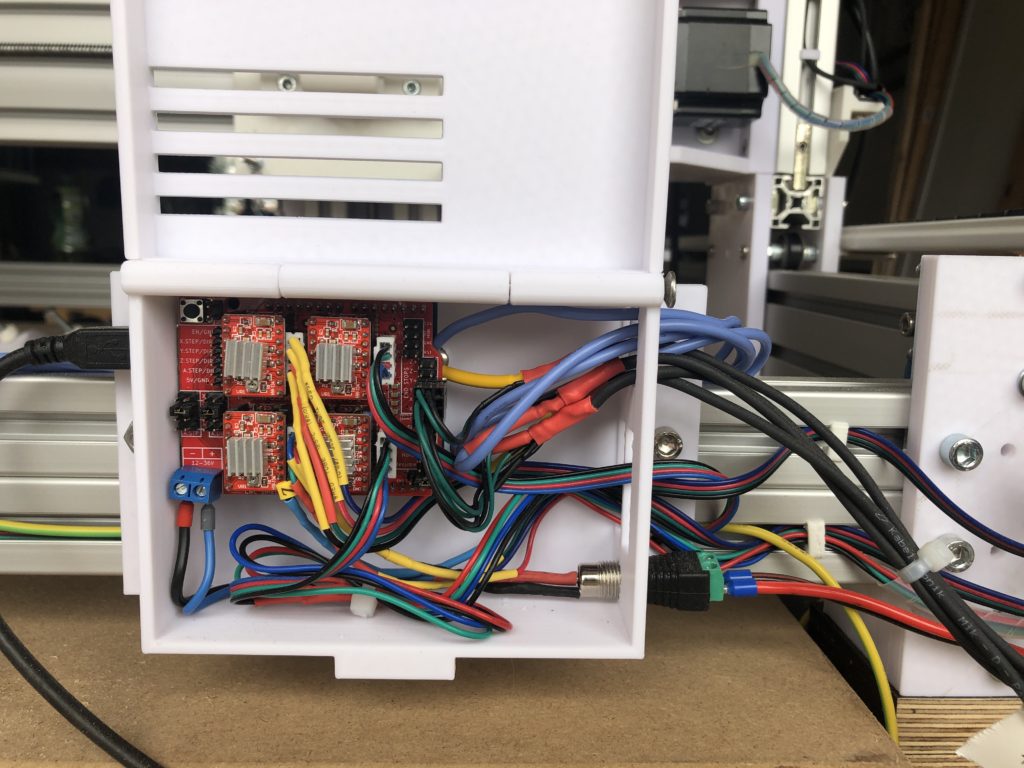
Shieled microphone cables
I also tried to bring all metal parts and the wire shielding down to one electrical potential by connecting them to the ground of the power supply. What resulted in even more unpredictable fail state.
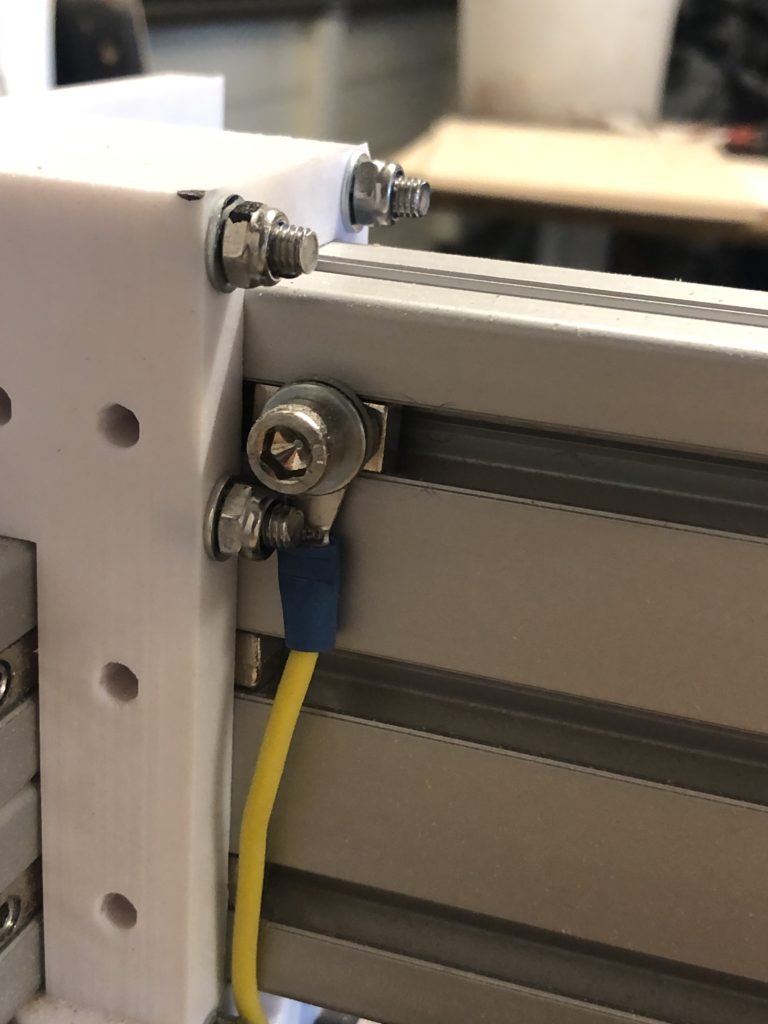
Ground cable on Y axis 
Ground screw on the power supply 
Bundled end stop shielding
When the end stop shielding were attached to the frame the machine would go to fail state immediately. Which seems to be counter intuitive. If you know why this could be, please leave a comment.
The router problem
I originally planned to use the Katsu M1DP-x7-10A-01 but in testing it showed a noticeable deviation when turning the spindle by hand with a 1/8″ tool blank in it. I swapped it for my 35 year old Bosch rotary tool. This has only one speed setting of 26000 rpm but is completely plumb. This will be replaced in the future by a Makita RT0700CX2J, to have the option to change speeds.
First cuts
Time to make some chips. I cut some 7,5mm holes 10mm deep with adaptive clearing and a 3mm cutter. The machine seemed rigid and all went smooth until I inspected the result.
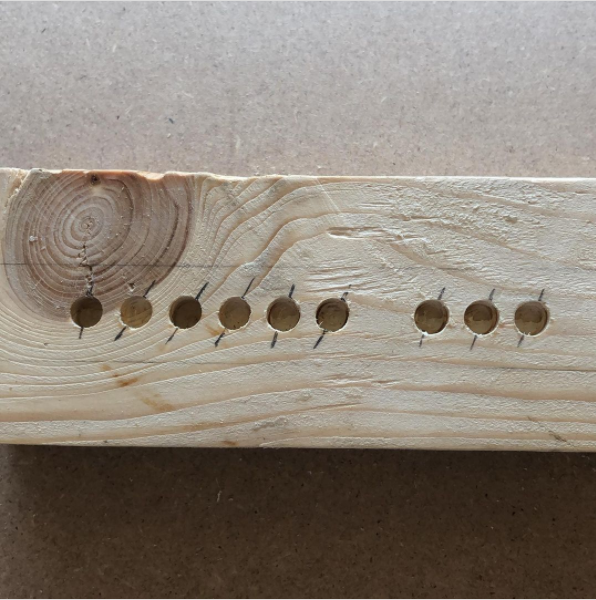
The holes were egg shaped, not round. This was the result of too much slack in the T8 nuts on both axis. These were temporarily changed for some platic ones with almost no slack, but I think I’ll replace them again for more durable metal ones in the future.
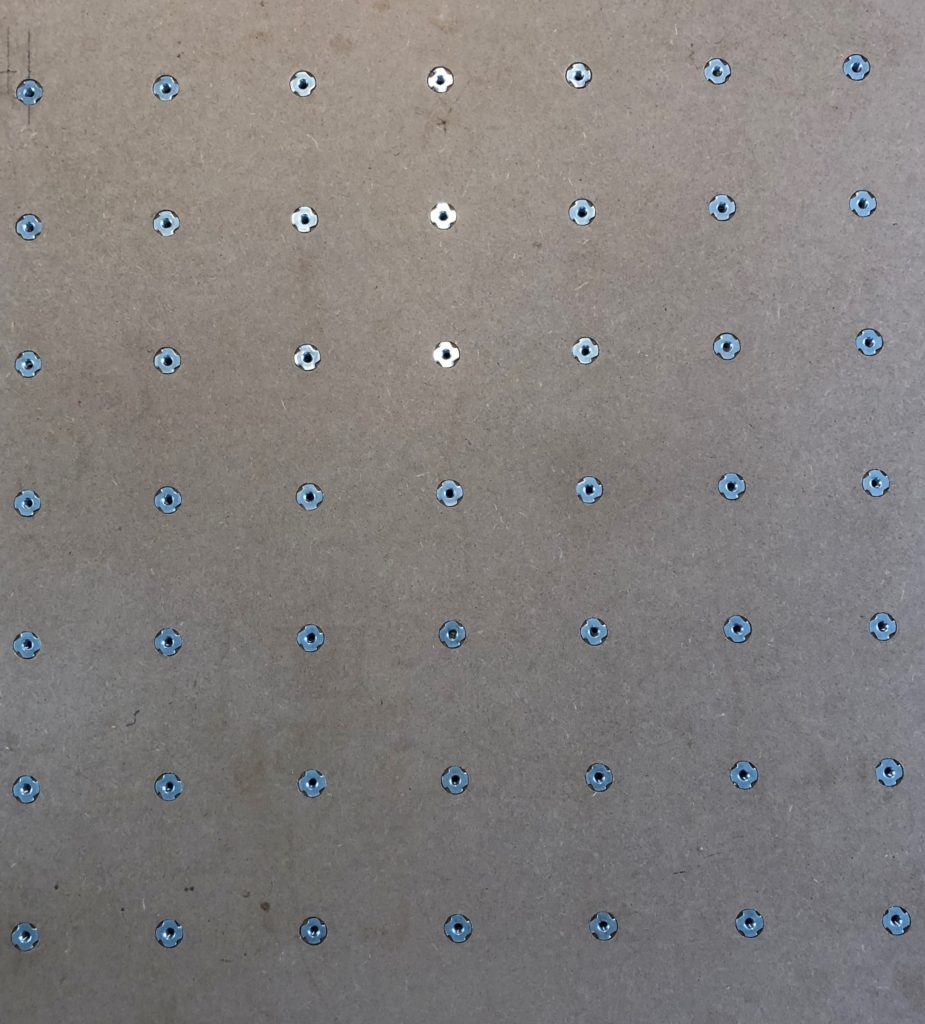
After getting that problem out of the way it was time to cut the waste board holes for the M6 inserts.
I took some time because I’m not that good with feeds and speeds yet and was affraid I would ruin this thing by going to fast.
If you interested in what I’m doing with this machine subscribe to my Instagram @sourcreammitschnittlauch and my youtube channel. There will be more videos and pictures in the future.
Casing
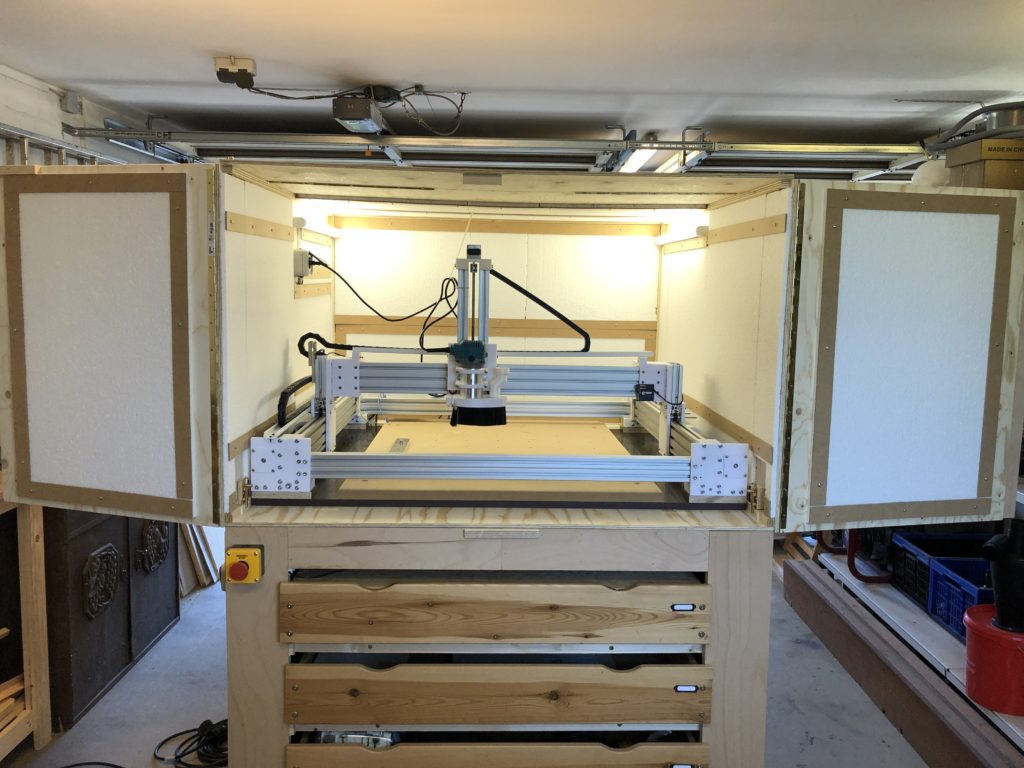
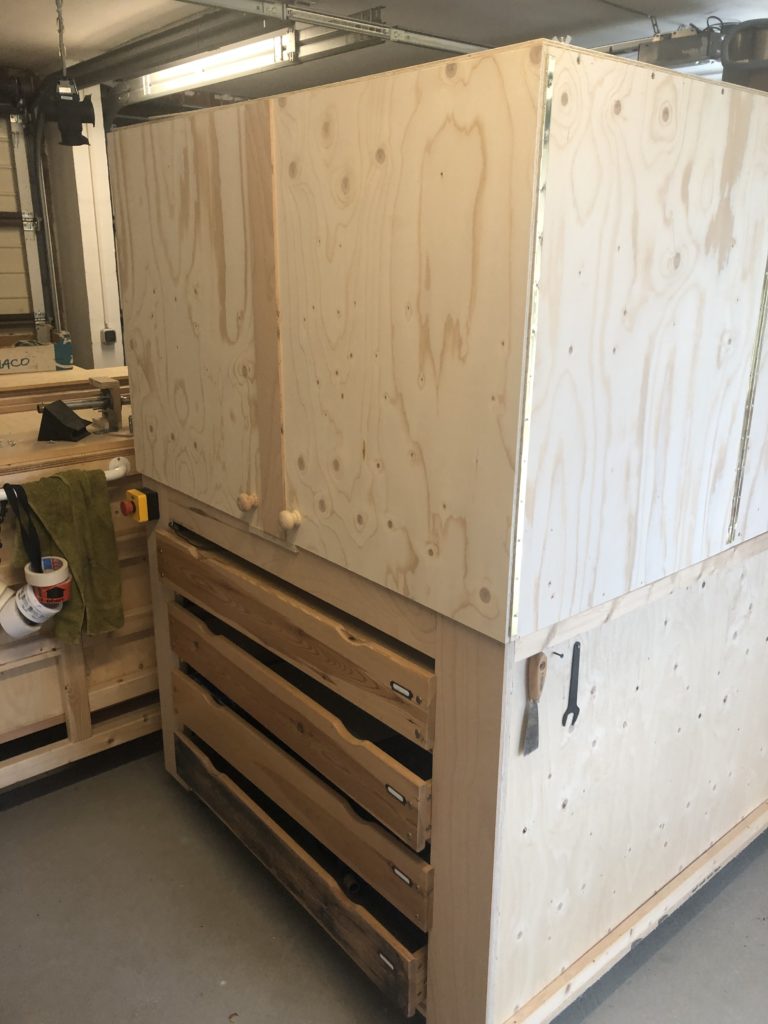
A few months have passed and I decided to add an enclosure to bring the noise level down a bit. Its build from 3mm plywood. You can just open the 2 front doors or open half of each side and half of the top to better thinker with the machine. I managed to lower the noise from 98 db to around 70db.
Download
You can download the complete (messy) fusion 360 file here or check out the thingyverse page for this project (which seems to be broken right now).